Over the course of this guide, you will learn necessary steps to transform your home into an appealing backdrop for professional photography. By taking the time to declutter, enhance lighting, and showcase your home's best features, you can significantly boost the aesthetic quality of your photos. This preparation not only maximises the visual appeal of your space but also helps photographers capture stunning images that reflect your personal style. Follow these tips to ensure your home shines in the best possible light during the shoot.
Professional photography plays a significant role in showcasing your home's best features. The visual representation of your property can attract potential buyers and create a lasting impression. High-quality images not only highlight the aesthetics but also convey the potential of living in your home. Homes listed with professional photographs tend to receive more attention online, leading to higher engagement rates, quicker sales, and potentially better offers. You can gain insights on this topic from 7 Expert Tips to Get a House Ready for Listing Photos.
Moreover, the emotional connection established through well-captured images can't be underestimated. When potential buyers view your property, they are not just looking for a house; they are envisioning their future within its walls. This psychological factor can influence their decision-making process significantly and elevate the perceived value of your home.
Utilising professional photography allows you to present your home in the best possible light. Professionals understand how to manipulate lighting, angles, and settings to enhance your property's unique features. They can make small spaces appear larger and showcase outdoor areas in a way that invites buyers in. The right photography can turn a basic listing into an appealing visual story, making your home stand out in a crowded market.
Additionally, professional photographers often employ editing tools to refine images further, ensuring that they are not only aesthetically pleasing but also true to your home's character. You want potential buyers to see your home as a perfect match for their needs, and captivating visuals can create that allure.
Several elements contribute to the effectiveness of real estate photography. Firstly, the condition and cleanliness of your home greatly impact how it photographs. Decluttering, staging, and ensuring that every room is spotless will give photographers a compelling canvas to work with. Secondly, the lighting conditions during the shoot can either enhance or detract from the photographs taken. Natural light is often preferred, but strategic artificial lighting can also make a significant difference.
Any imperfections, such as poor lighting or disorganised spaces, could lead to lacklustre images that fail to attract buyers. It's important to collaborate closely with your photographer and ensure every detail is considered.
Any small oversight can diminish the overall impact of your listing, potentially leaving buyers unimpressed. Taking these factors into account will enhance the likelihood of successful real estate photography and, ultimately, a quicker sale.
Perceiving your home through the lens of a camera requires a keen eye for detail. Begin by walking through your space with fresh perspective, noting areas that may appear cluttered or distracting. This might involve moving furniture or items that could obstruct key features of a room, such as windows or artwork. Identifying focal points in each room will help you ascertain what to highlight versus what to downplay.
Before the camera arrives, it's imperative to declutter your home. Remove any personal items, excessive decorations, or furnishings that may overwhelm the space or detract from its best features. Aim for a minimalist approach; less is often more in photography. This can involve packing away items that are not imperative but may contribute to visual chaos, allowing the natural beauty of your home to shine through.
Cleaning also plays a significant role in preparation. Ensure that surfaces are dust-free, floors are spotless, and windows allow ample light into your rooms. You might want to consider a deep clean, which can elevate the overall appearance of your space. Pay special attention to kitchens and bathrooms, as these areas are heavily scrutinised by both buyers and photographers alike. Clean, well-maintained environments tend to reflect a meticulous homeowner, thereby making a powerful impression.
Staging involves arranging your furniture and decor strategically to create an inviting atmosphere. Consider the flow of each room, ensuring that the layout not only feels functional but also photogenic. Use furniture to create defined areas, such as a cozy reading nook or a welcoming dining space, while also allowing for easy movement through the room. Tailoring the arrangement to highlight architectural features can elevate the aesthetic appeal of your home significantly.
An effective strategy includes adding small touches such as fresh flowers, tasteful art pieces, or well-placed textiles to enhance visual interest without overwhelming the viewer. Incorporating neutral colour palettes can appeal to a broader audience, as it allows potential buyers to envision their own style in the space. By employing these staging techniques, you will set the stage for stunning images that reflect the heart of your home.
Natural light can dramatically enhance the warmth and beauty of your photographs, creating an inviting atmosphere within your home. Large windows and open spaces allow the light to flood in, casting soft shadows that add depth and dimension. You should aim to open curtains and blinds, and even consider relocating furniture to optimise the amount of light entering the space. However, the quality of natural light changes throughout the day; overcast days produce softer light, while bright sunshine can cause harsh shadows and excessive contrasts.
On the other hand, artificial lighting gives you more control over the scene's overall mood and tone. You can use a combination of floor lamps, table lamps, and ceiling fixtures to create a more consistent light source. It's wise to consider the colour temperature of your bulbs, as daylight bulbs (around 5500K) will closely mimic natural light, ensuring seamless integration in your shots. Consider using softboxes or ring lights if you're working in dimmer conditions; they provide even illumination that helps to eliminate shadows and highlight key features in your home.
The best times for photography typically align with the golden hours of the day—shortly after sunrise and before sunset. This is when the light is soft and warm, creating a calm and aesthetically pleasing environment for your photos. Scheduling your photography session during these hours not only enhances the visual appeal but also helps in achieving a natural glow in your images. Additionally, midday light tends to be harsh and unflattering, leading to intense shadows; avoiding this time will significantly improve the quality of your photographs.
To maximise natural lighting, consider keeping a closer eye on weather conditions. A slight overcast can actually create the perfect diffused light that eliminates direct sun woes. If you can, take test shots at different times during the day to determine when your space looks its best. This preparatory step can save you time and frustration when it comes to the actual photography session.
Effective landscaping is vital for enhancing your home's curb appeal. Start by assessing your garden; a well-maintained lawn, trimmed hedges, and vibrant flower beds can make a significant difference. Consider planting seasonal flowers for an inviting touch, and ensure pathways are clear and inviting. Adding ornamental features such as a birdbath or decorative planters can also elevate visual interest and create a welcoming atmosphere.
Outdoor features like lighting are equally important. Strategically placed lights can highlight your home's architectural details and guide potential buyers to your entrance after dark. Incorporating a seating area can suggest a lifestyle that resonates with viewers, making them envision themselves enjoying the space. All these elements come together to create an inviting aesthetic that captures attention at first glance.
Your home's exterior is just as important as the interior when it comes to making a lasting impression. Regular maintenance, such as painting shutters and doors, can refresh dated appearances. Additionally, ensure that gutters are clean and functioning, as overflow can lead to unsightly stains on walls and driveways. Pay attention to any cracked or peeling paint, which can suggest neglect, and address these issues before the photography session.
Inspecting structural elements, such as window frames and roofs, can prevent larger issues down the line. If you spot loose shingles or warped frames, consider repairs or replacements to maintain an overall polished appearance. A clean driveway, free of oil stains and debris, complements the surroundings and creates a seamless flow from the outdoor to the indoor space. Nothing detracts from your home's heart than an external façade that feels unkept.
Before the photographer arrives, examine your home for any minor repairs that may detract from its appeal. Fixing leaky faucets, patching up small holes in the walls, and tightening loose door handles can make a significant difference in presentation. These small adjustments not only improve the aesthetic but also signal to potential buyers that the property has been well cared for. Take a moment to check for scuff marks on floors and walls, and touch them up with paint as needed.
Don't overlook the exterior of your home either. Cleaning up any clutter from the garden, addressing any peeling paint on the front door, and ensuring all windows are clean can enhance the first impression. If you have outdoor furniture, consider giving it a thorough clean or even a fresh coat of paint, as this makes a welcoming area for the successful outdoor shots you aim to capture.
Inviting details can transform your home's atmosphere, making it feel more welcoming and engaging. Consider adding fresh flowers in vases, stylish throw pillows on couches, and artfully arranged books on shelves. Each of these touches contributes to a more lived-in look, which can be particularly appealing in photographs. You might also want to ensure that your lighting is soft and inviting; using lamps with warm bulbs creates a cosy environment that is visually appealing.
Furthermore, incorporating personal elements, such as tasteful artwork or well-placed family photos, can add character without overwhelming the space. Aim for a balance that allows the viewer to imagine themselves in the space while still showcasing its potential. An inviting atmosphere, marked by warmth and charm, can play a key role in making your home memorable to prospective buyers, increasing the likelihood of a successful sale.
Sharing your vision with your photographer is imperative for achieving the desired outcome. Clearly outline the specific features and areas of your home that you believe should be highlighted. For example, if you have a beautifully designed kitchen or a serene garden, make sure your photographer understands which elements are most important to you. Visual references, such as images from magazines or even personal photos, can effectively convey your expectations and help your photographer grasp your style. This collaboration will ensure that the final images resonate with your personal taste and the intended market.
Providing your photographer with context about your home can also enhance their approach. Discuss any unique selling points you wish to emphasise, such as energy-efficient appliances, storage solutions, or historical architecture. This insight allows the photographer to plan their shots and utilise different angles that best showcase these attributes, ultimately resulting in photos that effectively market your property. For further insights, you can explore Prepare Your Home for Photos - Real Estate Photographer Pro.
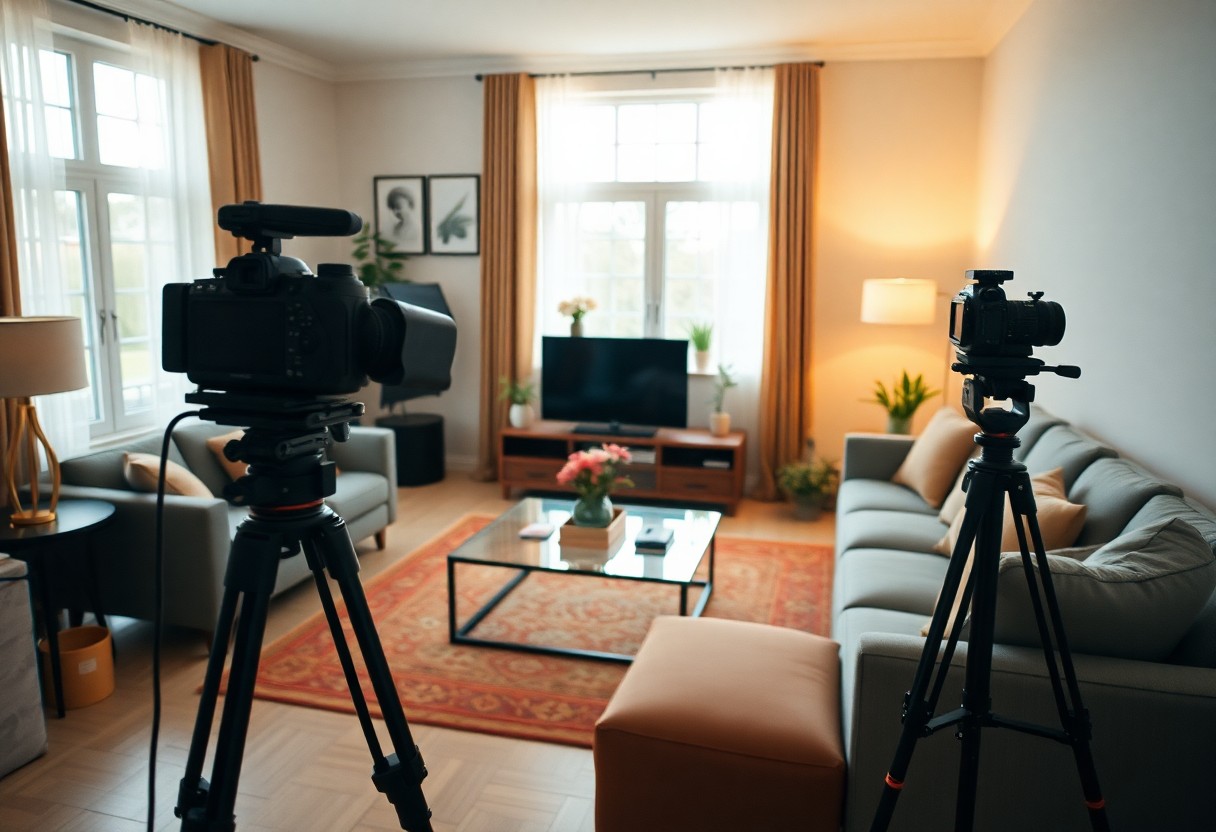
Familiarising yourself with the photography process can set clear expectations and reduce any potential anxiety about the shoot. Typically, professional photographers will arrive with a plan, surveying your space before beginning to shoot. This often involves assessing lighting conditions, angles, and the best way to showcase your home's features. You can expect them to use different techniques, such as high dynamic range (HDR) photography, which captures several exposures to create sharp, colourful images.
Your involvement during this phase can be beneficial. Be open to your photographer's suggestions on improving the scene, as they may offer insights you hadn't considered. Additionally, understanding the time required for the shoot will help you prepare your schedule accordingly. Generally, a thorough session may last anywhere from one to several hours, depending on the size of your property and the complexity of the shots.
Ultimately, preparing your home for professional photography requires careful consideration of both aesthetics and functionality. You should ensure that your space is clean, organised, and free from clutter, allowing the photographer to effectively capture the essence of each room. Pay attention to the details, such as ensuring that windows are clean to let in natural light and that furniture is arranged to create a welcoming atmosphere. Small adjustments like fresh flowers or artwork can elevate the overall appeal of your home.
Furthermore, consider the time of day when scheduling the shoot to take advantage of optimal lighting conditions. This may involve moving furniture or decorations to highlight your home's best features. You may also want to prime spaces with appropriate colours and textures that resonate with potential buyers or admirers. Engaging in these preparations will not only enhance the quality of the photography but also reflect your intent and care for your home, setting a positive tone for the visual narrative you wish to convey.
A: Begin by decluttering each room, ensuring surfaces are clear and tidy. Dust all visible areas, including shelves and decorations. Vacuum carpets and mop hard floors to remove any dirt. Pay special attention to windows, as clean glass allows for better natural light. Lastly, organise any personal items that may be in view, aiming for a more spacious and inviting atmosphere.
A: Open curtains and blinds to maximise natural light and illuminate spaces effectively. Turn on all available lights, including lamps, to create a warm and inviting glow. Avoid harsh overhead lighting that may cast unflattering shadows. Consider using soft light bulbs for a more balanced effect. If certain areas feel dim, add additional lamps or consider temporary lighting solutions as needed.
A: Assess the flow of each room and rearrange furniture to create an open and welcoming space. Position larger pieces away from pathways to avoid congestion. Create focal points by grouping smaller items or decor strategically. Ensure there is adequate space for the photographer to move around and capture different angles without obstruction. Aim for a balanced look that allows each element to shine.